


25 Stunning Brown Ombre Nails That’ll Make Everyone Ask Where You Got Them Done
October 16, 2025
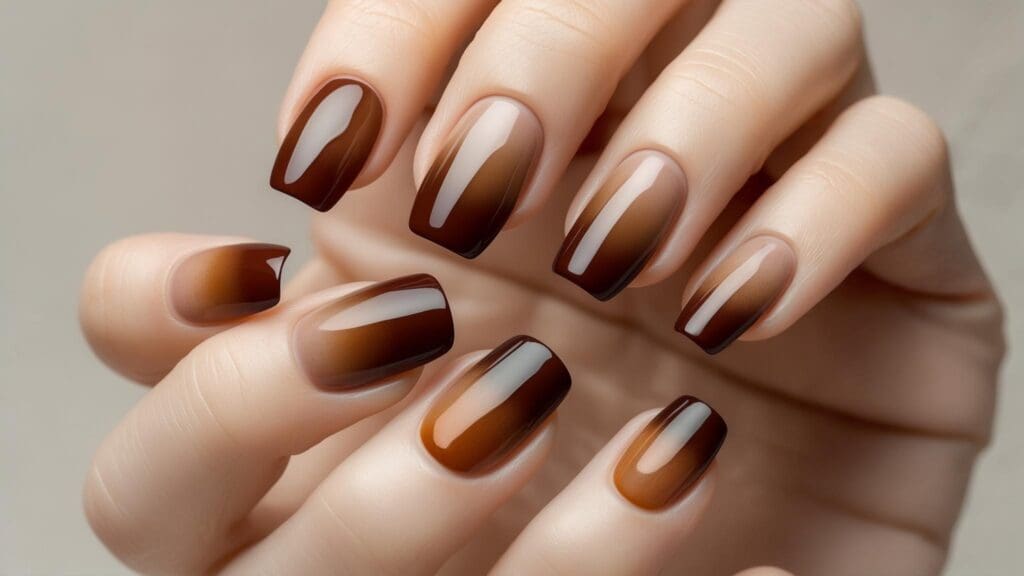

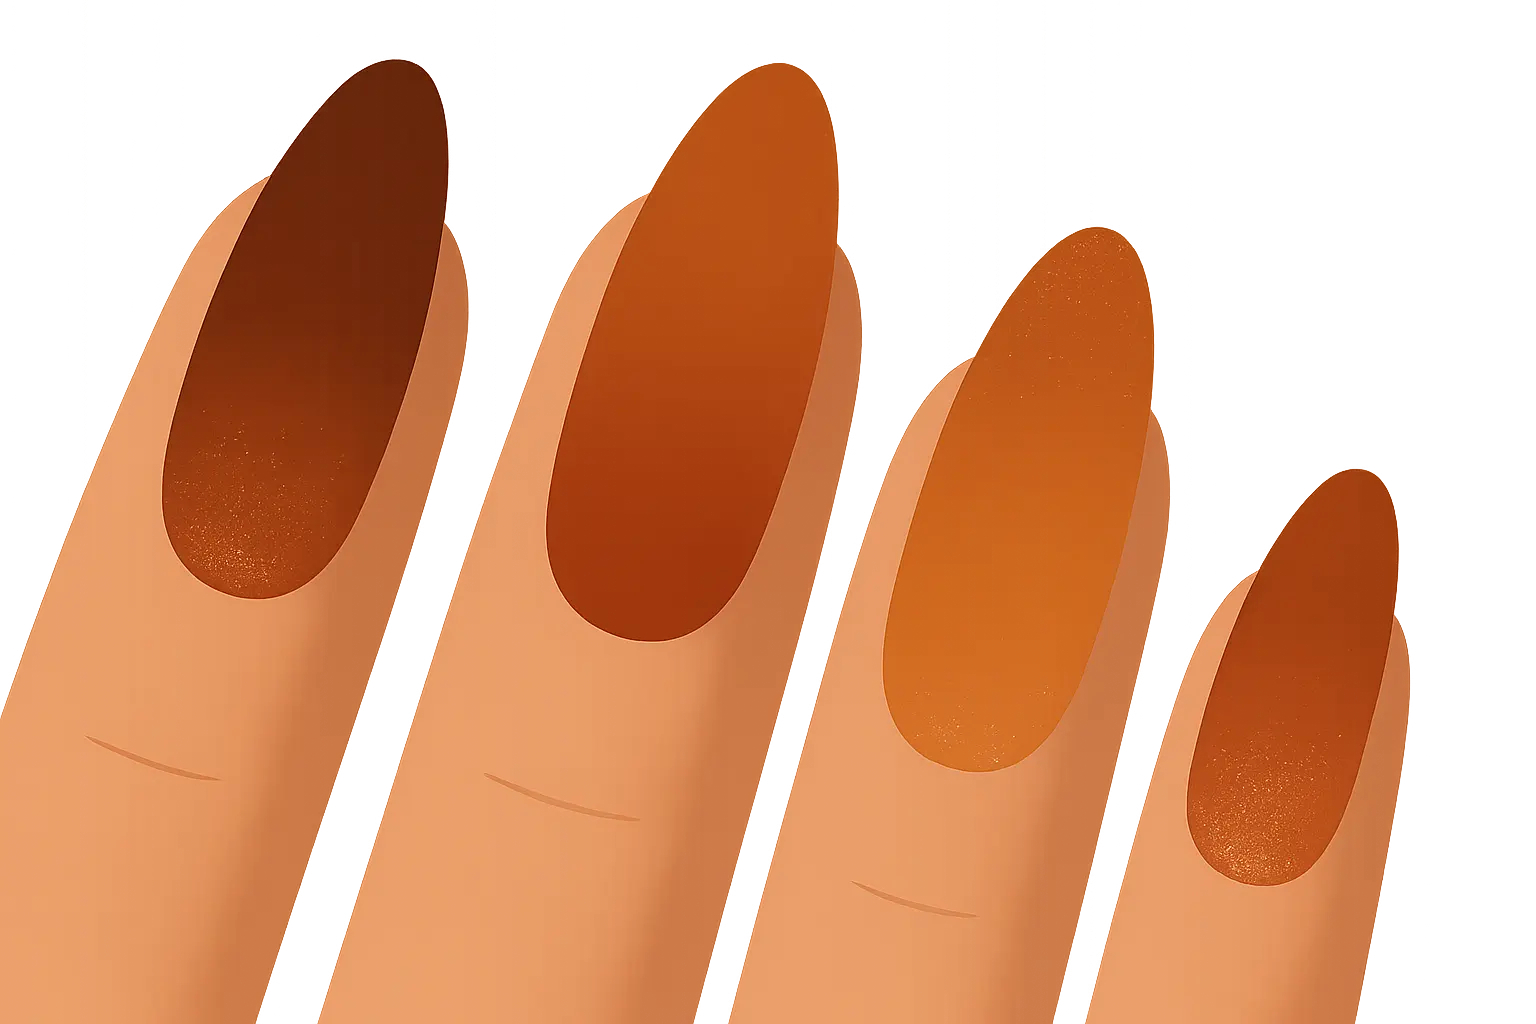
Okay, let’s be real – when I first heard about brown ombre nails, I thought “brown? Really?” But then I tried them, and wow. The way those earthy tones blend together? Pure magic. They’re sophisticated enough for work but trendy enough to get compliments at brunch. The ombre style continues to rank as one of the most popular nail trends because it works with literally everything in your wardrobe.
Quick Resources:
-
Discover your most flattering nail shades with our Free AI Color Analysis Quiz
-
Coordinate your full bridal beauty and nail look using the AI Wedding Planner
-
Explore all our Wedding Tools to plan every stunning detail perfectly
TL;DR
- Brown ombre works for all skin tones when you pick the right undertones
- Start with simple gradients before trying fancy textured designs
- Short nails need subtle fades, long nails can handle dramatic transitions
- Maintenance ranges from super low (basic gradients) to high (glitter and gems)
- Seasonal colors keep you trendy year-round
- Get professional help for complex designs and special events
What to Consider When Choosing Brown Ombre
Let’s get practical here. Your skin tone matters way more than you think when choosing brown ombre nail designs. If you’ve got cool undertones (think blue veins on your wrists), stick with chocolate and espresso browns. Warm undertones? You’ll look amazing in caramel and honey shades. Not sure which you are? You’re probably neutral, which means you hit the jackpot – almost everything works.
Not sure which undertones you have? Discover them instantly with our Free AI Color Analysis Quiz.
| Skin Undertone | Best Brown Shades | Avoid These Browns | Recommended Accent Colors |
|---|---|---|---|
| Cool | Chocolate, Espresso, Mushroom | Caramel, Honey, Golden | Silver, Pink, Purple |
| Warm | Caramel, Honey, Cinnamon | Ashy, Gray-toned | Gold, Coral, Orange |
| Neutral | Most brown variations | None specifically | All colors work well |
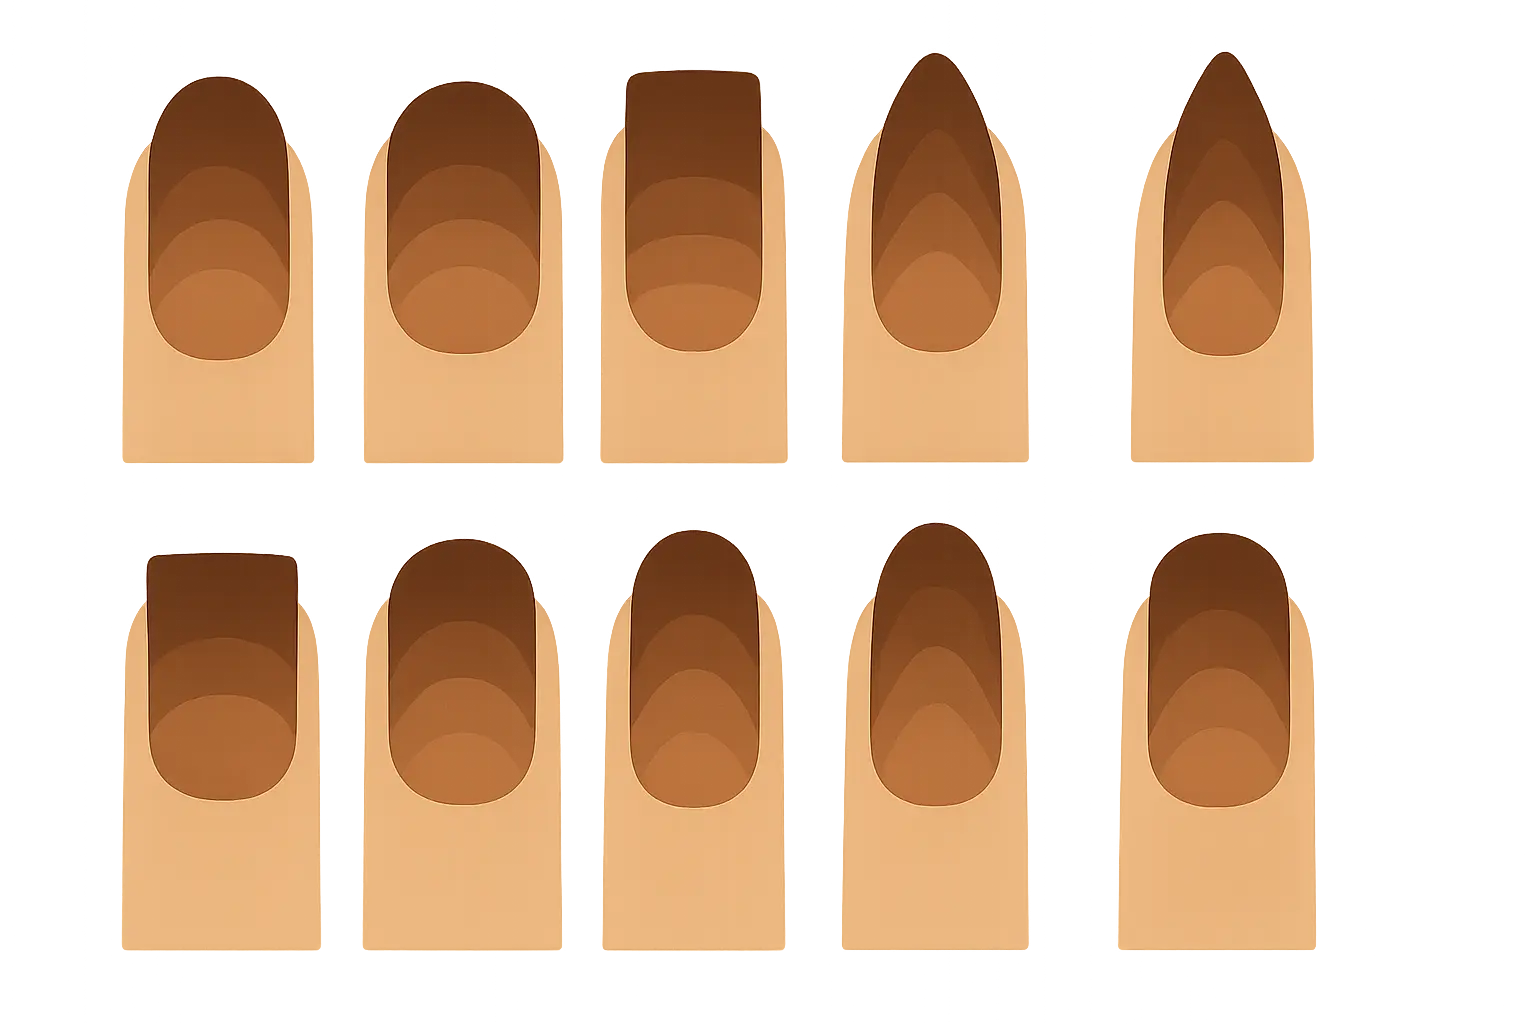
Your nail length changes everything too. Short nails? Keep it subtle – you don’t have much real estate to work with. Long nails? Go wild with dramatic fades and fancy details.
Here’s what nobody tells you: maintenance varies like crazy. Simple two-color fades? Easy peasy, grows out nicely. Add glitter or rhinestones? Hope you like salon visits every two weeks.
Consider where you’ll actually wear these nails. Work environment pretty conservative? Stick with neutral browns that won’t get you in trouble. Weekend warrior? Bring on the drama with bold contrasts and sparkly bits.
Your personal style matters too. Brown pairs with everything – neutrals, bold colors, metallics. Think about what’s already in your closet and what makes you feel confident.
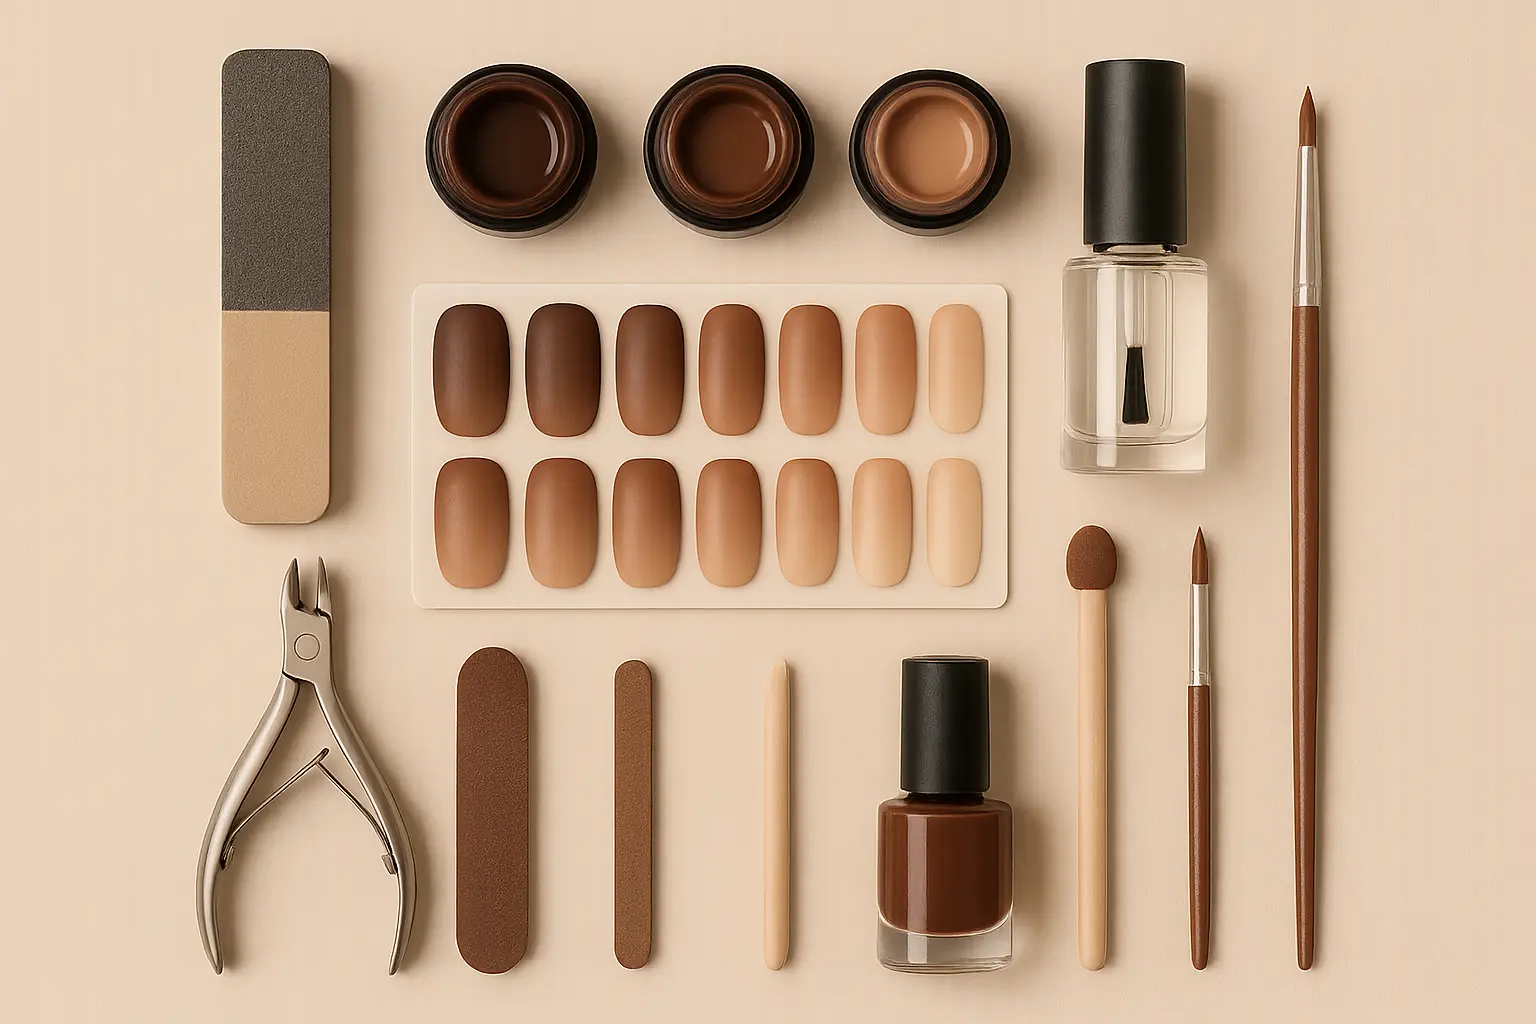
Finally, be honest about your DIY skills. Some techniques need salon-level expertise and tools. Others you can totally nail (pun intended) at home with basic supplies.
Plan your perfect nail prep and beauty routine with our AI Wedding Planner.
Classic Brown Gradients (Designs 1-5)
1. Light to Dark Brown
This is your starter ombre – perfect for beginners. Start nude-brown at your cuticles, fade to rich chocolate at the tips. It’s like a latte for your nails and works on literally everyone when you pick the right base shade.
DIY Reality Check: You’ll need three similar brown shades and a makeup sponge. Start with OPI’s “Tickle My France-y” as your base, blend into Essie’s “Hot Cocoa” in the middle, finish with Sally Hansen’s “Commander in Chic” at the tips. Dab, blend, repeat. Takes about 45 minutes if you’re doing it right. Don’t rush – this isn’t a race.
Perfect for work meetings and everyday wear. This low-maintenance design grows out naturally without obvious lines, making it super forgiving for busy lifestyles.
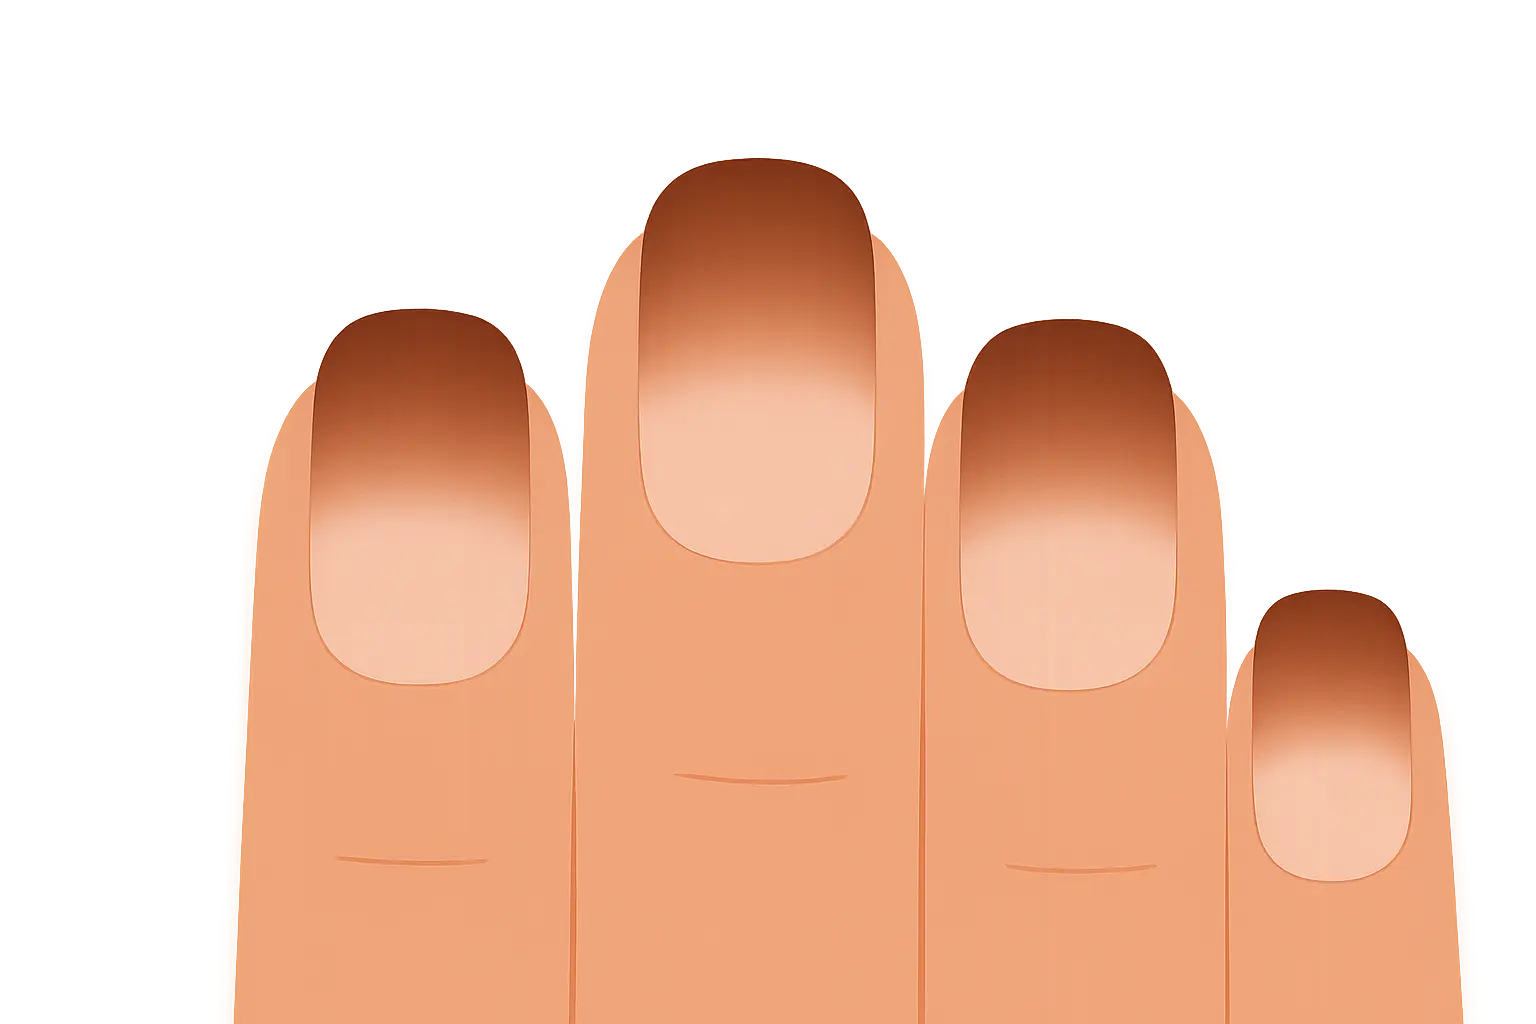
2. Chocolate Brown Fade
Think milk chocolate melting into dark chocolate. Sounds fancy, but it’s just three shades of brown blended together. Works on everyone, looks expensive, pretty forgiving if you mess up.
This gradient particularly flatters warm and neutral undertones and looks stunning on medium to long nails. The rich tones work for both fancy events and daily wear, though you’ll need touch-ups every 10-14 days.
3. Caramel to Espresso
Perfect for fall vibes and coffee lovers everywhere. Start with that golden caramel color, fade to deep coffee brown. This warm combo is especially gorgeous on warm undertones and works on any nail length.
Fair warning – this combo shows chips more than darker gradients. The warm golden tones tend to fade faster, so you’ll be doing more maintenance than with deeper browns.
4. Mushroom to Dark Brown
Cool-toned and modern. If you’re tired of warm browns, this is your answer. The contemporary minimalist vibe is perfect for cool undertones and looks especially good on shorter nails.
This beginner-friendly gradient offers super low maintenance with natural grow-out that doesn’t scream “I need a fill.” The cool mushroom base creates a sophisticated edge that works in any setting.
5. Honey Brown Gradient
Sun-kissed and gorgeous, but here’s the catch – golden tones fade faster than other browns. You’ll be touching up more often, but the honey-warm effect is totally worth it.
Create this look by starting with pale honey at your cuticles, building through amber honey in the middle, and finishing with deep burnt honey at the tips. The golden-brown family looks incredible on warm and neutral undertones, especially on longer nails where you can really see the full gradient.
Brown with Accent Colors (Designs 6-11)
For brides wanting their nails to coordinate with their overall wedding look, understanding the latest wedding color trends for 2025 can help you pick accent colors that complement your wedding palette perfectly.
Match your nail palette flawlessly to your wedding colors using our Free AI Color Analysis Quiz.
| Design Type | Color Combination | Best Skin Tones | Difficulty Level | Maintenance Level |
|---|---|---|---|---|
| Pink & Brown | Dusty rose to brown | All (with proper undertones) | You’ll need practice | High |
| Black & Brown | Chocolate to black | Fair and deep tones | Pretty manageable | Low |
| Brown & Cream | Brown to cream | Everyone | Super easy | Very Low |
| Brown & Gold | Brown with metallic | Warm undertones | Moderate effort | Medium |
| Brown & Nude | Nude to brown | Everyone | Beginner-friendly | Very Low |
| Brown & Burgundy | Brown to burgundy | Warm and neutral | You’ll need practice | Medium |
6. Pink and Brown
Romantic but tricky. The key? Match your undertones. Warm pink with warm brown, cool pink with cool brown. Mix them wrong and it looks muddy instead of pretty.
Start with soft dusty rose at the base, blend into warm taupe in the middle, finish with rich brown at the tips. Use a damp beauty sponge and build layers slowly – rushing this one leads to disaster.
Works best on medium to long nails and is perfect for romantic dates and spring events. Just know you’ll need more frequent touch-ups since pink fades faster than brown.
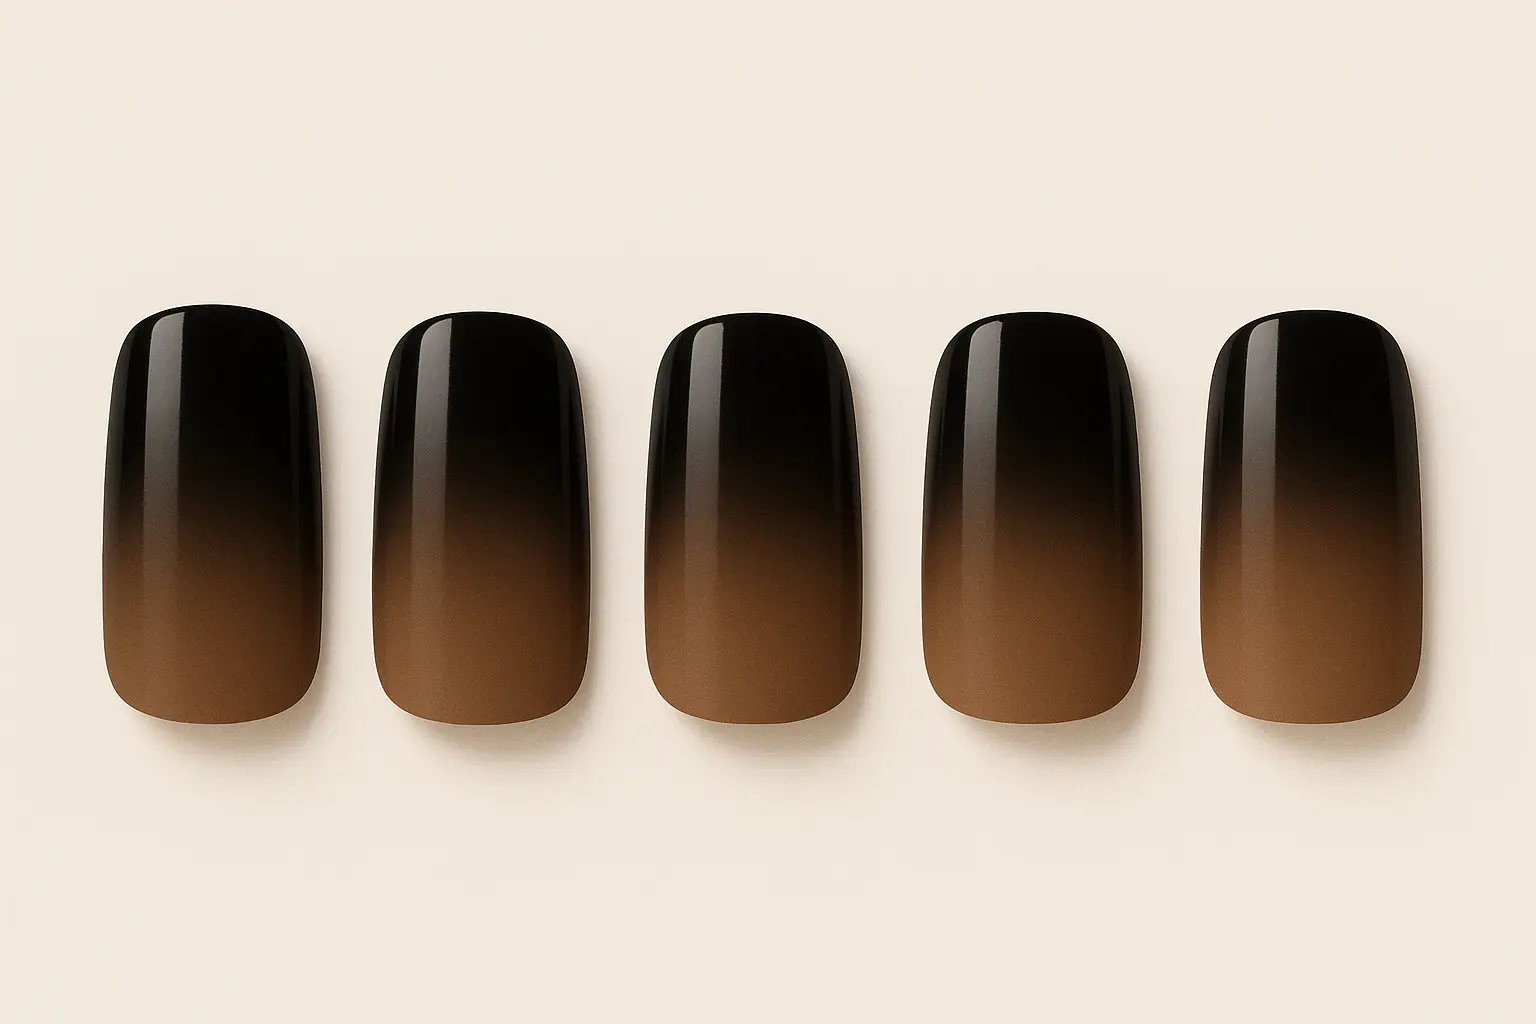
7. Black and Brown
Dramatic and surprisingly wearable. Start chocolate, fade to black. It’s gothic chic without being too intense for everyday wear.
Begin with deep chocolate at your cuticles, transition through darker browns, end in true black at the tips. The trick is keeping the transition subtle so it feels natural rather than stark.
This combo is universally flattering and particularly striking on fair and deep skin tones. Works great for evening events and bold fashion statements, plus the dark colors hide wear really well.
8. Brown and Cream
The safest combo ever. Literally cannot go wrong. Perfect for job interviews, weddings, or when you want to look put-together without trying too hard.
Blend rich brown at the tips into soft cream at the base for a sophisticated neutral look that works on everyone. This elegant design is particularly refined on shorter nails and hides minor chips like a dream.
9. Brown and Gold
Holiday party nails right here. The metallic makes everything look more expensive, but you’ll need actual metallic nail polish – regular gold won’t cut it.
Start with warm brown and blend into metallic gold accents for a luxurious finish that’s stunning on warm undertones. Best showcased on medium to long nails where the metallic elements can really shine.
10. Brown and Nude
This is completely customizable to match your exact skin tone. Transition from your natural nude shade to rich brown tips for a sophisticated gradient that looks like it was made just for you.
For fair skin, start with peachy nude and blend to light chocolate. Medium skin tones look amazing with golden nude transitioning to medium brown. Deeper skin tones should begin with rich caramel nude blending into deep chocolate.
The natural progression offers super low maintenance and is easy for beginners. By matching the nude base to your skin tone, you create a seamless, professional look that grows out beautifully.
11. Brown and Burgundy
Fall in a bottle. Rich, sophisticated, and photographs beautifully. Just make sure your browns have red undertones or it’ll clash instead of blend.
Create this autumnal look starting with warm medium brown at the base, transitioning through reddish-brown in the middle, deepening to burgundy at the tips. The rich color combination evokes fall foliage and wine country elegance.
Particularly beautiful on warm and neutral undertones, this design is stunning on longer nails to showcase the rich color depth. Perfect for fall and winter events, though it requires understanding color theory for the best results.
Textured and Fancy Stuff (Designs 12-18)
12. Matte Brown
Same gradient, matte top coat. Instantly modern but shows fingerprints like crazy. You’ve been warned.
Apply your chosen brown gradient, then finish with matte top coat for a modern, velvety finish that’s universally flattering. The matte finish is very forgiving and looks super chic on all lengths.
This contemporary approach fits perfectly with modern styling trends. Easy technique – just requires a quality matte top coat – though you’ll be dealing with more visible oils and fingerprints.
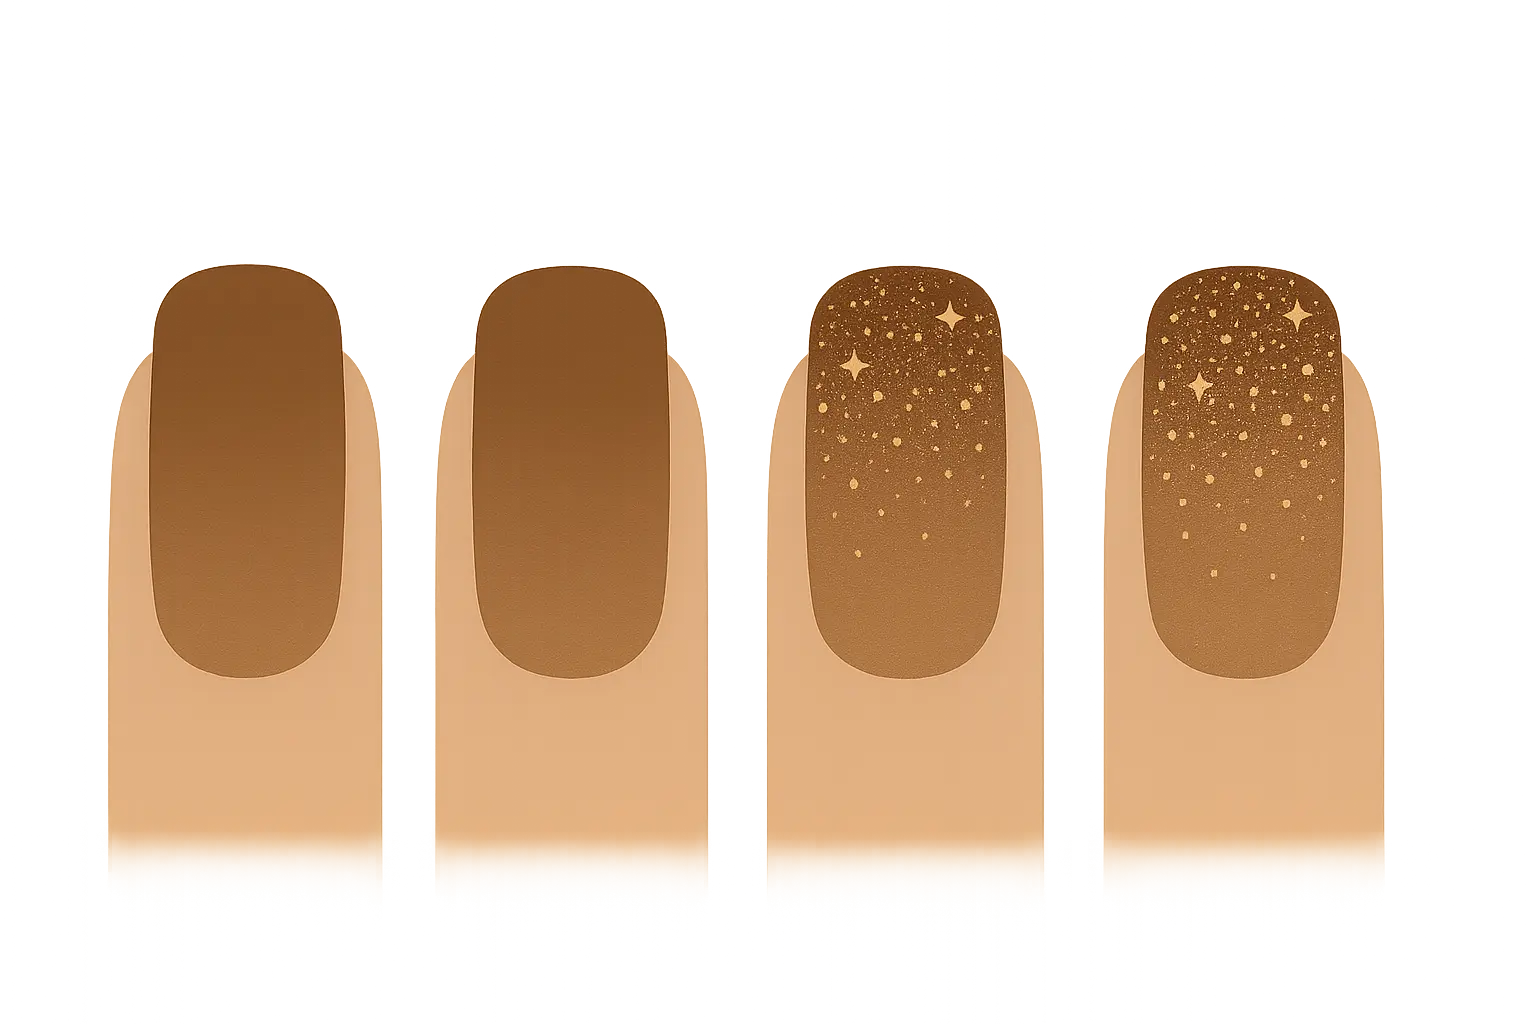
13. Glitter Brown
Party nails! Add fine glitter at the tips, fade it upward. Pro tip: use a fan brush and build slowly. Also, invest in good glitter removal – you’ll thank me later.
Start with your base brown gradient, then add fine gold or bronze glitter concentrated at the tips, gradually dispersing toward the middle for a sparkling sunset effect. Choose glitter color to complement your skin tone – gold for warm browns, silver for cool browns.
Most dramatic on longer nails, this design is perfect for parties and glamorous events. Just know that glitter can be a pain to remove and requires patience plus proper application tools.
14. Sand Texture
Sprinkle textural powder while your top coat’s tacky. Feels weird, looks cool, hides imperfections. Win-win-win.
Create your ombre base, then while the top layer is still slightly tacky, sprinkle fine textural powder over the entire nail, concentrating more at the tips. This creates an organic, beachy texture that resembles natural sand dunes.
The earthy texture is universally flattering and interesting on all lengths. Perfect for casual, bohemian, or beach-inspired looks, and the texture actually hides minor imperfections.
15. Brown with Metallic Tips
Create your brown gradient, then add thin metallic tips in gold, bronze, or copper for an elevated finish. Choose metallic color to complement your skin undertones for the most flattering result.
Works on all lengths but is particularly dramatic on longer nails. The sophisticated appearance is perfect for special
Works on all lengths but is particularly dramatic on longer nails. The sophisticated appearance is perfect for special events and evening wear, though metallic elements may chip more easily than regular polish.
16. Rhinestone Accents
Fancy but high-maintenance. Those little gems will fall off if you actually use your hands for anything.
Apply your brown gradient, then add small rhinestones or crystals as accent points, typically at the tips or cuticle area. Clear or amber rhinestones work with all skin tones, while gold options complement brown tones beautifully.
Best on medium to long nails for proper placement, this glamorous design is perfect for special events. Just expect higher maintenance as rhinestones may fall off with daily activities.
17. Velvet Brown
After creating your brown gradient base, apply specialized velvet powder while the top coat is still wet. The velvet powder creates a luxurious, soft texture that feels fabric-smooth to touch.
This technique creates a unique tactile experience and rich visual depth. Velvet texture is universally flattering and sophisticated, most impactful on medium to long nails. Perfect for special events and high-fashion looks.
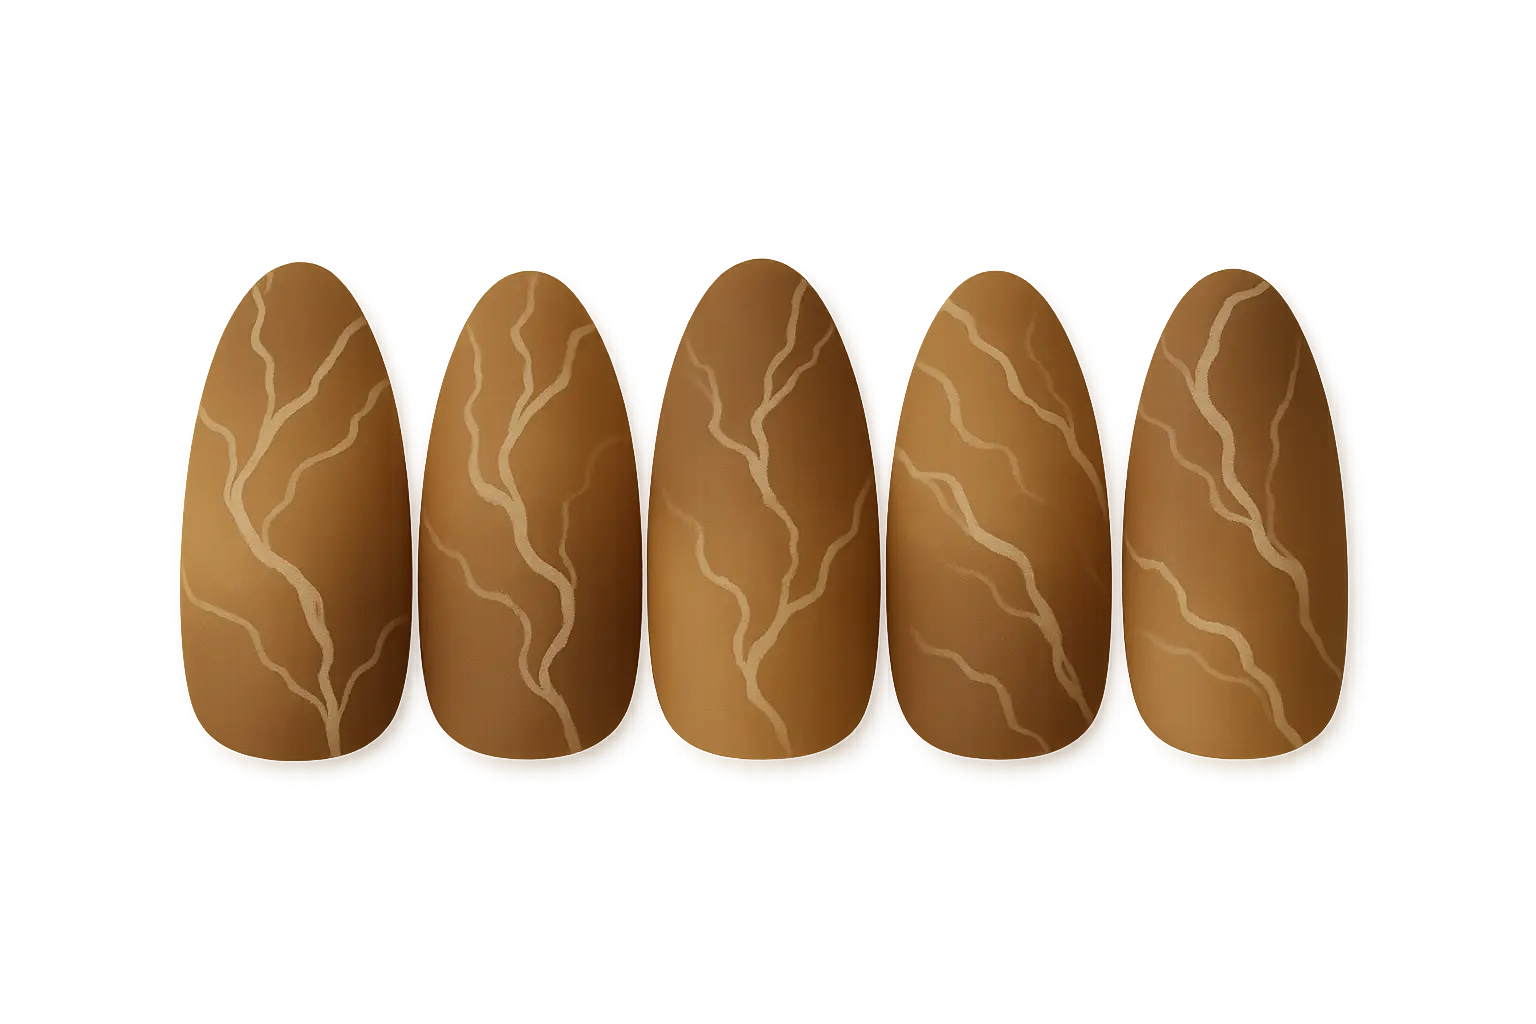
18. Marble Effect Brown
Combine your brown ombre technique with marble veining using a thin brush and contrasting colors like cream or gold. Start with your brown gradient base, then while still wet, use a fine detail brush to create organic marble veins.
The veining should follow natural marble patterns – irregular, flowing lines that intersect and branch. Most effective on longer nails to showcase the patterns, this artistic design is sophisticated for creative or upscale settings.
Short Nail Designs (Designs 19-22)
Short nails need special treatment. You can’t just shrink down a long nail design – it won’t work. For those wanting to coordinate their short brown ombre with their overall bridal party look, check out our guide on 2025 bridesmaid dress trends to ensure your nail design complements the latest color palettes.
Coordinate your short nail look and bridesmaid style seamlessly with our AI Wedding Planner.
| Short Nail Design | Gradient Intensity | Best For | Skill Level | Professional Look |
|---|---|---|---|---|
| Subtle Brown Ombre | Very gentle (1-2 shades apart) | Daily wear, professional | Super easy | High |
| Brown French Ombre | Moderate (focused on tips) | Classic elegance | You’ll need practice | Very High |
| Micro Brown Ombre | Minimal (barely visible) | Conservative settings | Beginner-friendly | High |
| Brown Accent Nail | Variable (one nail only) | Trendy, experimental | Easy start | Medium |
19. Subtle Brown Fade
Use colors only 1-2 shades apart. Any more dramatic and it’ll look weird on short nails.
This design uses closely related brown shades to create a gentle gradient that works beautifully on shorter lengths. Perfect for professional settings and everyday wear, this super low maintenance design grows out naturally without obvious lines.
The closely related brown tones create seamless blending that’s forgiving on shorter surface area and totally beginner-friendly.
20. Brown French Ombre
Classic French tips but brown instead of white. Chic and professional.
Modernize the classic French manicure by replacing white tips with a brown ombre effect. Start with clear or nude base, then create a brown gradient that begins subtly at the middle of the nail and intensifies toward the tips.
This maintains the elegant silhouette of French manicure while incorporating trendy ombre technique. Specifically designed to flatter shorter lengths, this professional and elegant design works for any setting.
21. Micro Brown Fade
Create a very subtle gradient using brown shades that are only 1-2 shades apart for a sophisticated, barely-there effect. This universally flattering design is perfect for very short nails due to its subtle nature.
Ideal for conservative professional environments, this understated elegance offers very low maintenance as subtle changes blend with natural wear. The minimal color variation is extremely forgiving and easy for beginners.
22. Brown Accent Nail Only
Not ready to commit? Just do the ombre on your ring fingers. Test drive the look.
Apply brown ombre to just one accent nail per hand while keeping other nails in a coordinating solid brown shade. This approach works with all skin tones and involves way less commitment than a full set.
Paint your thumb, middle, and pinky nails in solid medium brown. Create brown ombre on your ring and index fingers using the same medium brown as the base, blending to darker chocolate at the tips. This creates visual interest while maintaining cohesion – perfect for someone wanting to try ombre without full commitment.
Seasonal Vibes (Designs 23-25)
23. Autumn Spice Brown
Cinnamon to clove brown with copper shimmer. Smells like fall, looks like Instagram.
Capture fall’s essence by blending warm cinnamon brown at the base through nutmeg brown in the middle, finishing with deep clove brown at the tips. Add subtle copper shimmer throughout for extra warmth.
Particularly stunning on warm undertones, this design is beautiful on all lengths and especially cozy on shorter nails. Perfect for fall events, Thanksgiving, and autumn weddings.
24. Winter Cocoa Brown
Cool-toned browns that remind you of hot chocolate. Perfect for holiday parties.
Blend cool-toned browns reminiscent of hot cocoa, from light cocoa at the base to rich dark chocolate at the tips. Cool-toned browns flatter cool undertones especially, creating cozy sophistication on all lengths.
Perfect for winter holidays and cold-weather styling, this design offers low maintenance as darker winter colors hide wear effectively.
25. Summer Caramel Brown
Light, sun-kissed vibes. Great for vacation photos but needs more touch-ups.
Create a sun-kissed effect with warm caramel tones, lighter at the base and deeper at the tips, mimicking a summer tan. Warm caramel tones complement warm and neutral undertones beautifully.
Fresh and light on shorter nails, dramatic on longer lengths, this design is perfect for summer events and beach vacations. The golden-brown family requires more maintenance as lighter colors show wear faster.
Wedding Day Nails
When planning your wedding nail design, it’s essential to consider how your brown ombre will coordinate with your overall wedding aesthetic. Just as mastering your wedding day timeline ensures everything runs smoothly, selecting the perfect nail design requires careful consideration of your overall bridal look.
Brown ombre is perfect for weddings – sophisticated but not boring. It photographs well, won’t clash with your dress, and works for any wedding theme from rustic barn celebrations to elegant ballroom affairs.
Brides: go for subtle gradients that won’t compete with your ring or distract from your dress. The sophisticated nature ensures they enhance rather than compete with your overall bridal look.
Bridesmaids: coordinate with the wedding colors while keeping things elegant. Brown ombre offers the perfect balance of classic elegance and contemporary style.
Guests: anything goes as long as it’s not more dramatic than the bride’s nails. Whether you choose subtle gradients for engagement photos or more dramatic designs for the reception, these looks photograph beautifully.
Just as every wedding detail deserves professional attention, choosing the right nail design should align with your personal style, wedding theme, and practical needs. Much like Bridesmaid for Hire provides expert guidance throughout your wedding journey, selecting the perfect brown ombre design requires the same level of care.
If you’re feeling overwhelmed by wedding planning details (including nail decisions), consider how professional wedding day coordination services can help you navigate these choices with expertise gained from 150+ weddings.
Take the stress out of wedding beauty planning with the AI Wedding Planner.
Real Talk
Look, not every design needs to be Instagram-perfect. Sometimes a simple two-shade fade is exactly what you need. Don’t feel pressured to add glitter, rhinestones, or complicated techniques just because they look cool online.
Brown ombre has proven itself as more than just a passing trend – it’s a sophisticated nail art technique that offers endless possibilities for personal expression. From subtle elegance of classic gradients to dramatic flair of textured embellishments, there’s a brown ombre design for every personality, occasion, and skill level.
The key to success lies in understanding your personal factors: skin tone, lifestyle, maintenance preferences, and application abilities. Don’t feel pressured to attempt the most complex designs immediately. Start simple, practice the basic technique, then get fancy later.
Your first attempt probably won’t be perfect – that’s totally normal. Even nail techs had to start somewhere. Whether you’re preparing for a special occasion, updating your everyday look, or just wanting to try something new, brown ombre offers the perfect blend of versatility and elegance.
The earthy tones work seamlessly with any wardrobe, season, or setting, making them a smart investment in your beauty routine. Most importantly, choose designs that make you feel confident and beautiful.
Your nails are an extension of your personal style, and the perfect brown ombre design should reflect who you are while making you excited to show off your hands. The best brown ombre is the one that makes you happy when you look at your hands – whether that’s subtle and professional or dramatic and sparkly is entirely up to you.
Bring your full wedding and beauty vision to life with the AI Wedding Planner.
Related posts:
 25 Stunning Bridal Nail Ideas That’ll Make Your Wedding Photos Absolutely Perfect
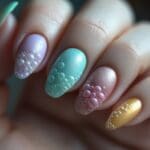 25 Stunning Bubble Nail Designs That Will Transform Your Wedding Look
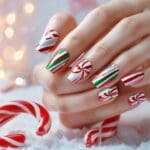 The Ultimate Guide to Candy Cane Nails That’ll Actually Turn Heads This Holiday Season
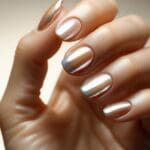 25 Pearl Chrome Nails That Will Make Everyone Ask Where You Got Them Done


1-800-BRIDESMAID
The Newlywed
Card Game
something extra to love
Read the weekly newsletter from Bridesmaid for Hire, 1-800-Bridesmaid, to hear about real stories, from strangers, who need advice on love, life, friendship, and so much more.
Looking for the perfect wedding gift for someone you adore? Grab The Newlywed Card Game. It's a fun and interactive game they can play on their honeymoon or future date nights.

