


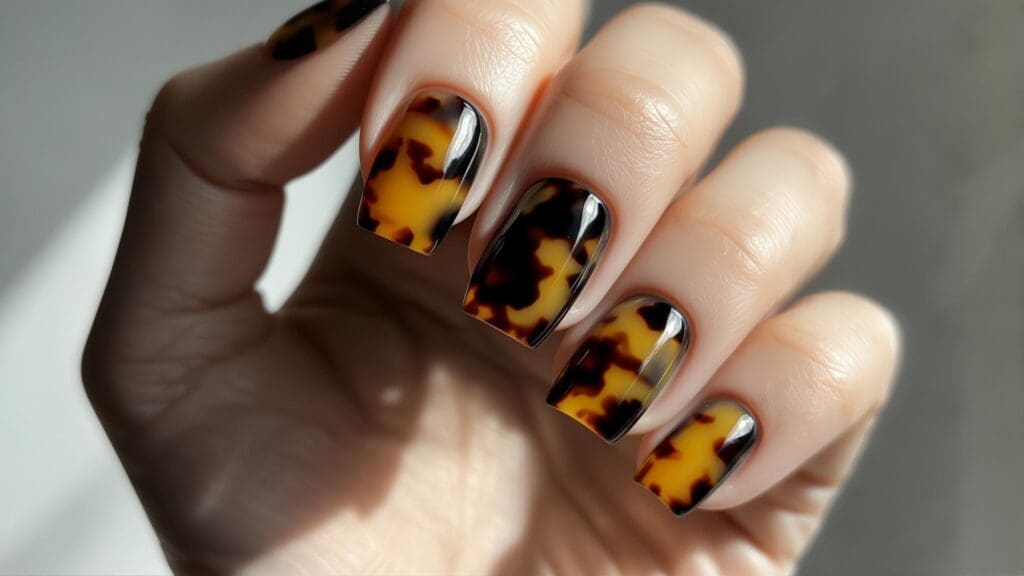

I stumbled across tortoise shell nails during one of those late-night Instagram scrolls, and honestly, I was hooked immediately. The hashtag #tortoiseshellnails connects to thousands of posts, proving this timeless pattern’s enduring popularity. I discovered this trend during my own search for sophisticated nail art that works in professional settings, and tortoise shell delivers that perfect balance of elegance and edge.
Drawing from Allure’s coverage of the tortoiseshell manicure trend, I’ve put together this guide to help you navigate complexity levels, durability requirements, and occasion appropriateness to find your perfect tortoise shell match. We’re covering 25 unique designs across six categories, from classic traditional styles to modern DIY options.
Planning tortoise shell nails for your big day? Coordinate every beauty detail with our AI Wedding Planner
Quick Resources:
-
Find your perfect tortoise shell shade match with our Free AI Color Analysis Quiz
-
Simplify your bridal nail planning with our AI Wedding Planner
-
Explore All Wedding Tools to coordinate your full wedding beauty prep
TL;DR
Here’s the deal: tortoise shell nails are gorgeous but you need to be realistic about your skill level and how much time you actually have. I’ve tested 25 different designs and some are total game-changers while others… well, let’s just say I learned some lessons the hard way. The press-ons are honestly amazing if you need something quick, the DIY sponge technique is super forgiving for beginners, and if you’re going full advanced mode with gels, clear your afternoon and maybe order takeout. Most importantly – don’t try anything new the day before a big event. Trust me on this one.
What You Need to Know Before Choosing Tortoise Shell Nails
Okay, so here’s the thing about choosing the right tortoise shell nails design – you need to be brutally honest with yourself. I’ve made the mistake of attempting Pinterest-perfect nail art while running late for work, and let me tell you, it never ends well.
Your skill level really matters here. When I first tried tortoise shell nails, I thought “how hard could it be?” and ended up with what looked like chocolate pudding smeared on my nails. Not cute. Give yourself realistic expectations and actually practice the technique before you need perfect nails.
Here’s what I’ve learned after way too many nail art disasters:
If you’re a beginner: Give yourself like 30 minutes and don’t stress if it’s not perfect. Seriously, the “imperfect” organic look is what makes tortoise shell so gorgeous anyway. You’ll need basic polish and a makeup sponge – that’s it.
Getting more ambitious: You’re looking at about an hour, and you’ll want multiple polish colors and some decent brushes. This is where I usually get impatient and mess things up, so maybe put on a good show first.
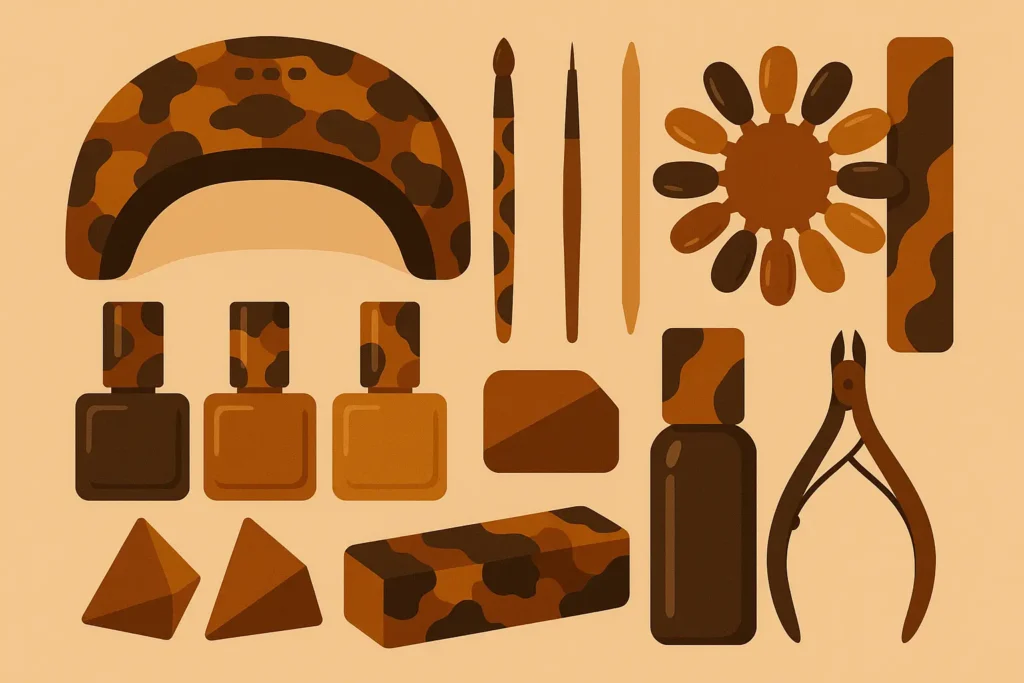
Going full advanced mode: Clear your whole afternoon. You’ll need a gel system, UV lamp, and the patience of a saint. The results are amazing, but I’m talking 90+ minutes here, and that’s if everything goes right the first time.
Cost-wise, you can totally do this with drugstore polish – I use whatever’s on sale at CVS and it looks great. But if you’re going the professional gel route, yeah, you’re looking at $100+ for the whole setup. Sounds scary, but if you’re like me and used to get your nails done twice a month, it pays for itself pretty quickly.
The lifestyle thing is huge though. I learned this the hard way when I spent three hours on gorgeous textured tortoise shell nails, then chipped them opening a Diet Coke the next day. If you’re constantly typing, washing dishes, or just generally hard on your hands, stick with the more durable options or you’ll be touching up constantly.
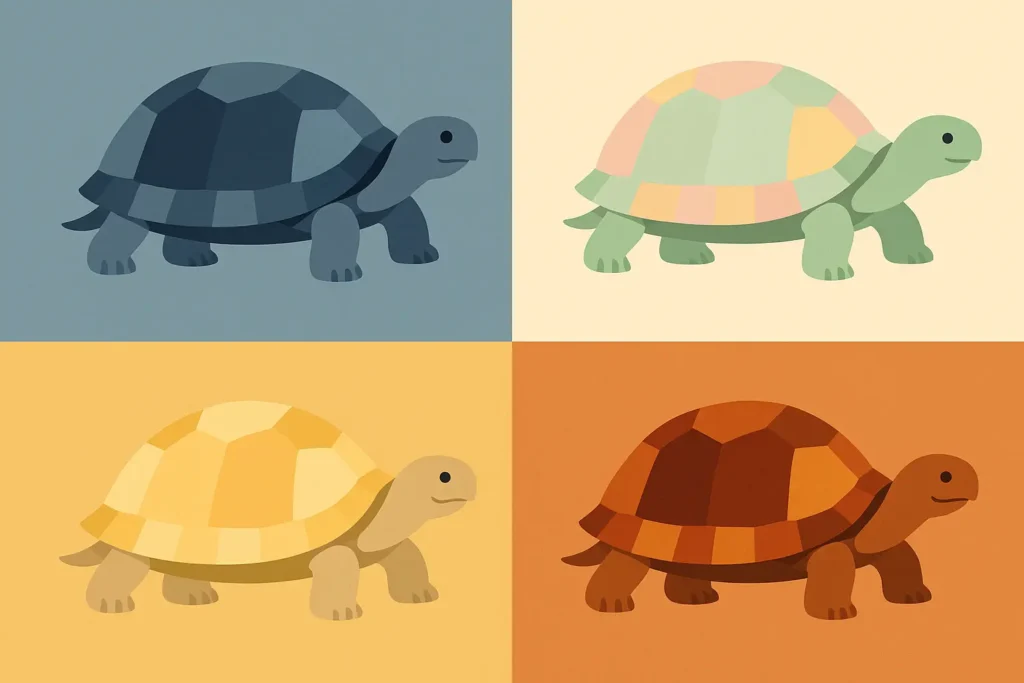
Color preferences are way more flexible than you might think. Sure, the classic brown and amber combo is gorgeous, but I’ve done cool grays for winter and even tried pastels for spring. The key is keeping those signature swirl patterns that make tortoise shell so recognizable.
Not sure which warm or cool tortoise shell tones suit your skin? Take our Free AI Color Analysis Quiz
Classic Traditional Tortoise Shell Designs
These five designs are basically the gold standard of tortoise shell nails – they’re what everyone thinks of when they hear “tortoise shell,” and honestly, there’s a reason these classics never go out of style. They work in professional settings, look sophisticated, and if you do them right, they last pretty well too.
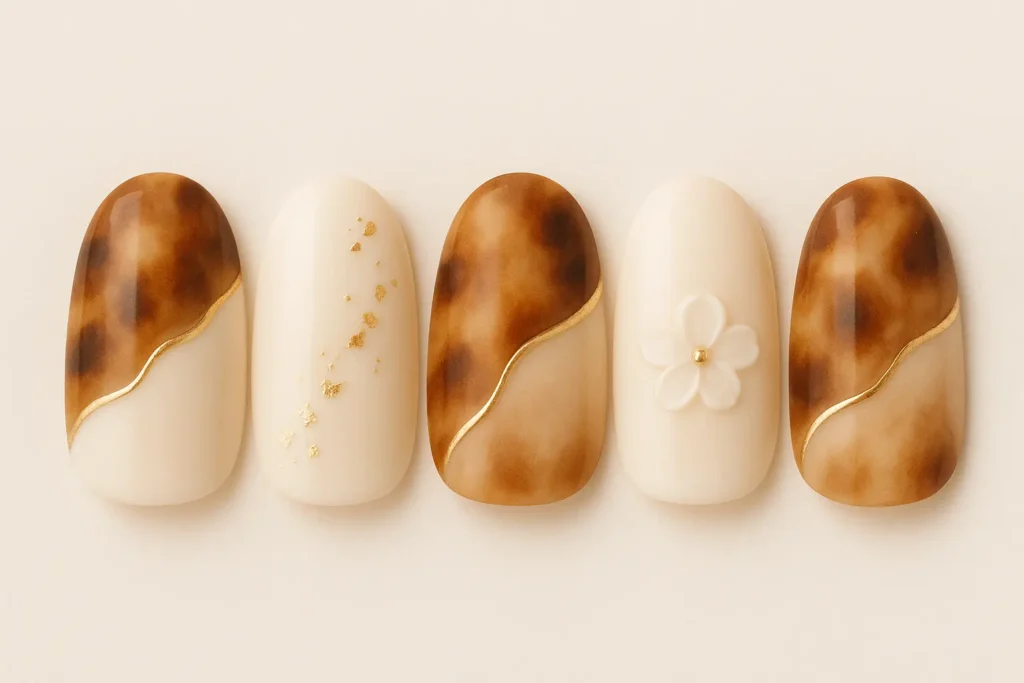
1. Traditional Amber Blend
This is the classic – rich amber, burnt sienna, and deep chocolate browns all swirled together. It’s basically what you see when you Google “tortoise shell nails.” The sponge technique makes this totally doable for most people, though I definitely recommend practicing on fake nails first.
My friend Sarah swears by this look for work. She’s a marketing manager and does her nails every Sunday night with drugstore polishes. Takes her about 45 minutes, and with a good base and top coat, they last through Friday with maybe a tiny touch-up on Wednesday. The warm colors work with basically everything in her closet, which is probably why she’s been doing this same design for like two years.
Real talk: this one’s pretty forgiving. Even if you mess up the blending a bit, it just looks more “organic.” Just don’t skip the base coat – I did that once and spent the next week with slightly brown-tinted nails.
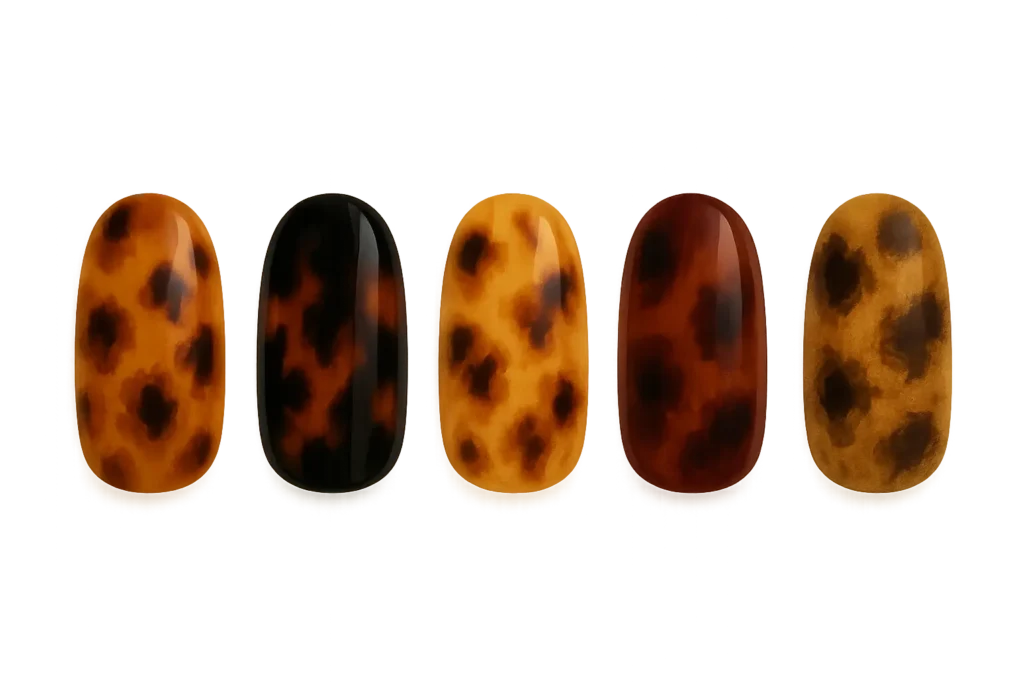
2. Black-Based Classic
Okay, this one’s for when you want drama. It’s basically the sophisticated goth version of tortoise shell – black dominates with strategic amber and brown swirls. I love this during fall and winter when I’m wearing all dark colors anyway.
The trick here is not going too heavy on the black or you’ll end up with muddy-looking nails. Start light and build up. Also, the darker colors hide chips way better than lighter versions, so this one’s great if you’re rough on your nails.
3. Warm Honey Tortoise
This is the lighter, more approachable version – honey, caramel, and golden brown tones that look super natural. Perfect if you want tortoise shell vibes but work somewhere conservative or just prefer subtle nail art.
Fair warning though: the lighter colors show wear faster. I usually need to touch these up by day five, but the colors are so easy to work with that it’s not a big deal. Plus, this look is gorgeous in spring and summer when you want something that goes with sundresses and light colors.
4. Deep Mahogany Style
This one’s fancy – we’re talking rich burgundy undertones mixed with the traditional browns. It’s like the wine-lover’s version of tortoise shell, and it photographs beautifully if you’re into nail pics.
It’s a bit trickier because of the burgundy element, but the payoff is worth it. Super elegant, works great for professional settings, and the deeper colors are surprisingly versatile. I wore this to a work conference and got compliments all day.
5. Vintage Tortoise Pattern
This is for the perfectionists out there. It’s all about recreating actual vintage tortoiseshell accessories – the real deal patterns and color gradations. It takes the most skill of the traditional options, but if you nail it (pun intended), it’s absolutely stunning.
I attempted this once for a 1920s themed party and spent way too much time studying vintage compacts for reference. Worth it though – the historical accuracy is so satisfying if you’re into that kind of detail.
Modern Minimalist Interpretations
If you love the idea of tortoise shell but don’t want your nails to be the main character, these four designs are perfect. They’re subtle, sophisticated, and work great in professional settings where you want to look polished but not flashy.
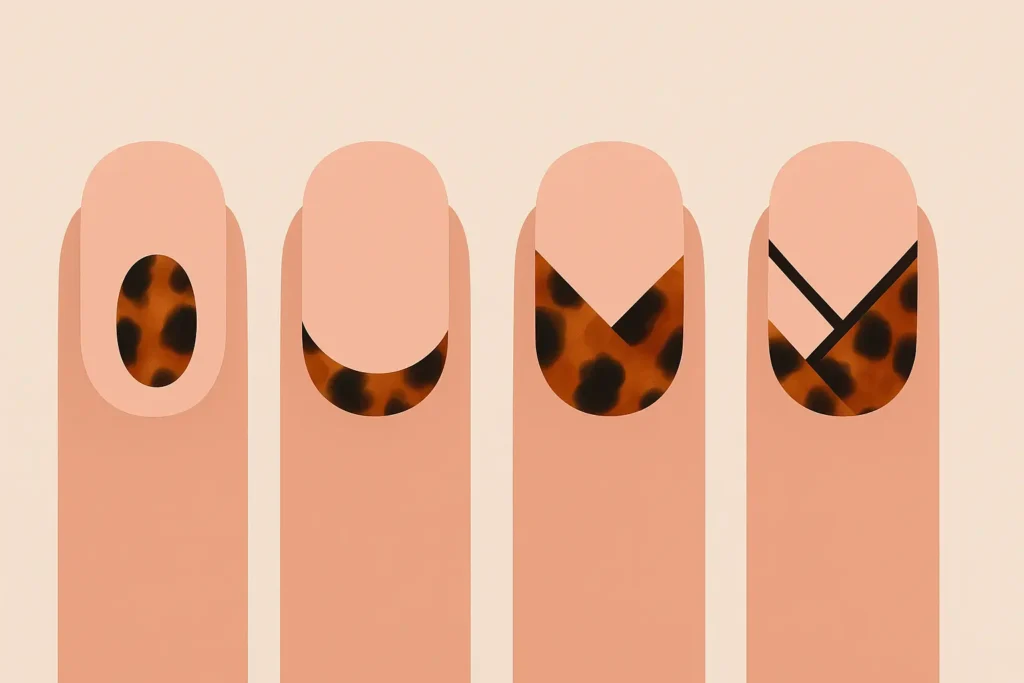
6. Single Accent Tortoise
This is genius in its simplicity – just do the tortoise shell pattern on your ring finger and keep the rest solid. Maximum impact with minimal effort, and honestly, it looks super intentional and chic.
This was my gateway drug into tortoise shell nails. When I was too intimidated to do all ten nails, I started here. It’s perfect for beginners because if you mess up one nail, it’s not the end of the world. Plus, maintenance is so much easier when you only have two patterned nails total.
7. Tortoise French Tips
Take your regular French manicure and swap out the white tips for subtle tortoise shell patterns. It’s familiar enough that it doesn’t feel too adventurous, but way more interesting than plain white tips.
I love this for people who are French manicure loyalists but want to try something new. The technique is basically the same as regular French tips, just with more colors. And honestly, the tortoise shell tips hide chips better than white ones do.
8. Negative Space Tortoise
This one’s all about strategic placement – clear or nude base with specific tortoise shell elements placed intentionally. It’s very modern and airy, perfect if you don’t want your nails to feel too heavy or overwhelming.
The precision required makes this a bit trickier, but the effect is so cool. It’s like tortoise shell nail art for people who usually prefer barely-there manicures. Professional settings love this because it’s interesting without being distracting.
9. Geometric Tortoise Blocks
Clean geometric shapes filled with tortoise shell patterns – it’s like the best of both worlds if you love classic patterns but also dig modern, graphic designs. This one requires some serious precision though.
I tried this after getting really into geometric nail art, and the combination is so unique. It definitely takes practice to get those clean lines while also nailing the tortoise shell swirls, but when it works, it’s stunning.
Bold Statement Variations
Okay, these four designs are not for the faint of heart. They’re gorgeous, dramatic, and perfect for special occasions, but they require some serious skill and maintenance. I’ve tried them all, and let me tell you, the learning curve is real.
10. Metallic Tortoise Fusion
Gold, bronze, or copper mixed right into the traditional tortoise pattern. It’s absolutely gorgeous and catches light like crazy, but timing is everything. You need to get the metallic elements in while the base is still workable, which means you’re basically racing against drying time.
I tried this for New Year’s Eve last year and honestly? The first attempt looked like I dipped my nails in craft glitter. Not cute. The second time, after watching like five YouTube tutorials, it was stunning. But definitely not an everyday look – the metallic elements need constant touch-ups.

11. Oversized Tortoise Pattern
Think regular tortoise shell but scaled way up – dramatic, bold patterns that make a serious statement. This works best on longer nails where you have room for the pattern to really develop.
Super cool for special events, but planning is key. You need to think about how the pattern will flow across each nail, which is way more complex than just dabbing colors randomly. Professional application usually works best for this one.
12. Neon Tortoise Twist
This is what happens when you take traditional tortoise shell and throw the color rules out the window. Bright neon colors in the classic swirl patterns – it’s definitely not for everyone, but if you want to make a statement, this is it.
I did this for a music festival and it was perfect for that setting. Definitely too bold for my office job, but sometimes you just want nails that match your “I’m here to party” energy. The high contrast colors are surprisingly fun to work with.
13. Textured 3D Tortoise
This is the fancy version – actual raised texture that you can feel. It looks incredible and feels really cool, but fair warning: it catches on literally everything. I lost a nail tip opening a can of soda.
The professional-grade materials and UV lamp requirements make this pretty expensive to DIY, and the maintenance is no joke. But for special occasions when you want something truly unique, the three-dimensional effect is amazing.
Seasonal and Color Variations
These four seasonal takes on tortoise shell prove that you don’t have to stick with traditional browns year-round. I love switching up my nail colors with the seasons, and these variations keep the classic swirl patterns while giving you fresh color stories.
14. Cool-Toned Winter Tortoise
Grays, cool browns, and slate tones instead of the usual warm colors. Perfect when you’re wearing all those dark winter sweaters and don’t want your nails to clash with your wardrobe.
I discovered this by accident when I ran out of my usual amber polish and grabbed a gray instead. The cooler palette is so sophisticated and works beautifully with winter fashion. Plus, the technique is exactly the same as traditional versions, so no new skills required.
15. Pastel Spring Tortoise
Blush, sage, and cream tones for a soft, spring-appropriate take on the classic pattern. This appeals to the part of me that loves tortoise shell but sometimes wants something gentler and more romantic.
The lighter colors do show wear faster – I usually need touch-ups by day five – but during spring when everything feels fresh and new, the extra maintenance feels worth it. It’s like tortoise shell for people who love pastels.
16. Autumn Spice Tortoise
Rich seasonal colors like burnt orange, deep burgundy, and golden yellows that capture total fall vibes. This celebrates autumn’s natural color palette and honestly makes me excited for sweater weather.
The warm, rich colors complement fall fashion perfectly and hide minor wear better than lighter versions. I love this for both professional and casual settings – it works with everything from work blazers to cozy weekend flannels.
17. Summer Blonde Tortoise
Light, beachy vibes with blonde, champagne, and light caramel tones. Perfect for vacation mode and summer events when you want something that goes with sun-kissed skin and lighter seasonal wardrobes.
This is great for vacation pics, but heads up – it shows every grain of sand if you’re actually hitting the beach. The lighter colors are super pretty but definitely more high-maintenance than darker versions.
Special Occasion and Bridal Designs
These four elegant designs are perfect for life’s special moments. They’re sophisticated, photograph beautifully, and strike that perfect balance between special and appropriate for memorable occasions.
18. Bridal Tortoise Elegance
Soft browns, creams, and subtle gold accents that complement bridal aesthetics without competing with your dress. This is refined tortoise shell that respects bridal traditions while still being interesting.
My friend Jennifer chose this for her outdoor autumn wedding, and it was perfect. The soft browns with cream accents complemented her vintage lace dress and fall color scheme beautifully. Most importantly, it photographed amazingly in both indoor and outdoor lighting, and lasted through her entire honeymoon week in Tuscany.
Want nails that photograph beautifully for your wedding day? Plan every step with our AI Wedding Planner
Pro tip: schedule this 1-2 days before your wedding for optimal freshness, but not the day of – you don’t want to be stressed about nail art on your wedding morning.
19. Holiday Glam Tortoise
Traditional tortoise patterns with added glitter, shimmer, or metallic elements for festive occasions. It’s celebratory sparkle while maintaining the sophisticated foundation of tortoise shell.
Perfect for holiday parties and New Year’s Eve when you want something special but not over-the-top. The added elements require careful application – don’t rush this one – but the way it catches light in party settings is absolutely stunning.
20. Date Night Drama
Rich, sultry versions with deep colors and high-gloss finish designed to make an impression. This emphasizes the dramatic potential of tortoise shell while keeping it elegant and romantic.
I love this for special date nights and romantic dinners. The deeper colors and glossy finish create that perfect “I made an effort but I’m not trying too hard” vibe. Professional application usually gives the best results for this high-impact look.
21. Anniversary Classic
Timeless, refined tortoise shell that honors both the occasion and the enduring appeal of the pattern. This is about classic elegance that works for milestone celebrations without being too trendy or flashy.
The refined approach ensures it’s appropriate for various anniversary celebration settings while maintaining sophisticated beauty that complements formal attire. It’s tortoise shell at its most elegant and timeless.
DIY and Press-On Options
These four accessible approaches prove that you don’t need to be a nail art wizard to get gorgeous tortoise shell nails. I’ve tried them all, and honestly, some of the DIY options look just as good as salon work if you take your time.
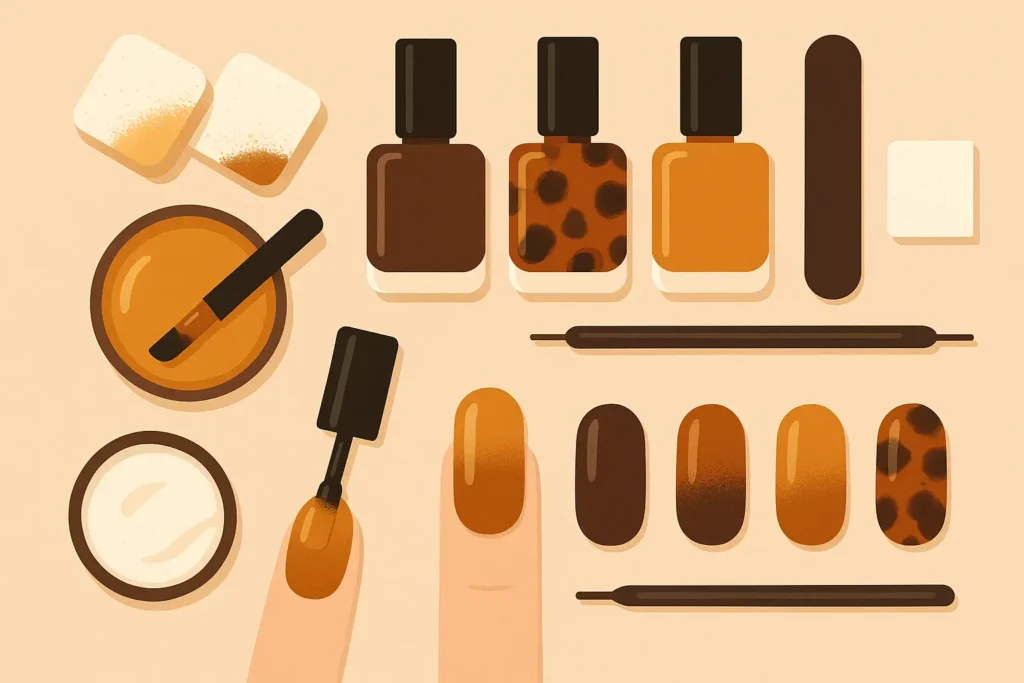
22. Beginner-Friendly Sponge Technique
This is where everyone should start. Makeup sponges and basic polish colors create totally acceptable tortoise shell effects, and the best part? It’s super forgiving. Even if you mess up the blending, it just looks more organic and natural.
I still use this technique when I’m in a hurry or trying new color combinations. You can literally use drugstore polish – I’ve done this with whatever’s on sale at CVS and it looks great. The sponge application means imperfections actually enhance the look rather than ruining it.
23. Press-On Tortoise Collection
Okay, I was skeptical about press-ons for the longest time, but the high-quality ones with pre-designed tortoise shell patterns are honestly game-changers. Professional design, instant application, and no artistic skills required.
I keep a set of these for emergencies when I need decent nails in 10 minutes. The variety of available patterns means you can find something that matches your style, and the durability is surprisingly good. Perfect for busy lifestyles or when you just can’t commit to hours of nail art.
24. Nail Wrap Tortoise
These adhesive wraps with professionally designed tortoise shell patterns take literally minutes to apply. No drying time, no smudging, no artistic ability required – just peel, stick, and file.
The quality varies by brand, but the good ones look surprisingly professional. I used these for a work trip when I didn’t have time for a proper manicure, and several people asked where I got my nails done. The convenience factor is unbeatable.
25. DND Gel Polish System
This is the serious DIY option. Professional-quality gel polish specifically made for creating tortoise shell effects, but you need to invest in the full setup – UV lamp, proper base and top coats, the works.
My friend Maria invested in this system after getting frustrated with regular polish chipping during her nursing shifts. The initial $120 investment seemed scary, but she was spending that much every two months on salon visits anyway. After mastering the technique over three practice sessions (and yes, the first attempts were disasters), she gets two-week wear that survives her demanding hospital job. The learning curve is real though – she kept getting gel on her cuticles and it looked messy until she figured out the proper brush control.
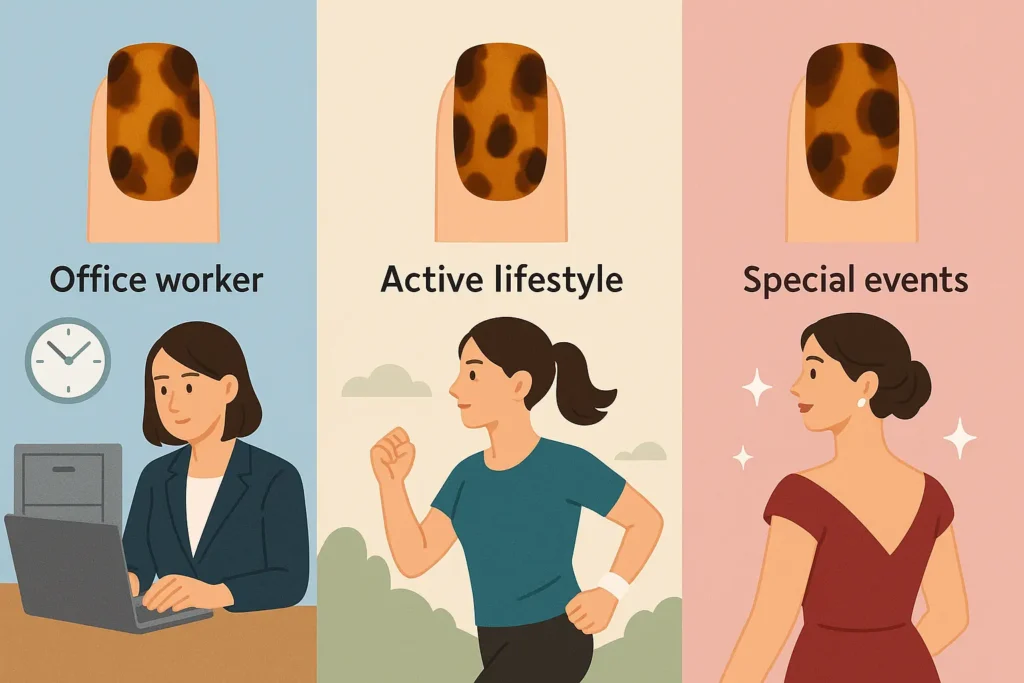
How Each Design Matches Your Lifestyle Needs
Look, here’s the real deal about choosing tortoise shell nails – you need to be honest about your actual life, not your Pinterest aspirations. I’ve learned this lesson multiple times by choosing gorgeous but completely impractical designs.
Press-ons and nail wraps are perfect if you want to look put-together without the time commitment. They’re great for busy lifestyles, and honestly, some of the quality ones look just as good as professional work. You’re looking at weekly replacements, but that’s way less maintenance than constantly touching up chipped polish.
Traditional polish techniques work well if you don’t mind moderate maintenance and have reasonably gentle hands. Expect to do touch-ups every 7-10 days, and definitely don’t skip the base coat (learned that one the expensive way).
Statement variations and textured designs look absolutely stunning but are high-maintenance nightmares. That gorgeous 3D textured look? It collects lint like nobody’s business and snags on everything. Perfect for special events, not so much for everyday life.
Gel systems offer the best durability if you’re willing to invest the time and money upfront. Great for active lifestyles or if you just hate doing your nails frequently. But seriously, clear your afternoon for application and maybe have backup plans if things go wrong.
For professional settings, stick with minimalist interpretations, traditional variations, or subtle seasonal approaches. Save the neon twists and metallic fusions for weekends and special events – trust me, your coworkers will appreciate the restraint.
The maintenance reality is this: simple designs need touch-ups every 5-7 days, traditional blends can go 7-10 days, and gel applications should last 2-3 weeks if done properly. Factor this into your decision because there’s nothing worse than gorgeous nails that look terrible after two days.
Wedding Planning Made Simple with Professional Support
Wedding planning is stressful enough without worrying about whether your tortoise shell nails match your vision or if you can coordinate manicure appointments for your entire bridal party. I’ve seen brides spend hours researching nail salons and trying to schedule everyone, when they should be enjoying their engagement.
Whether you’re choosing Bridal Tortoise Elegance for your wedding day or trying to coordinate matching designs for your bridal party, these beauty details matter more than many couples initially realize. But they shouldn’t add to your stress level.
Make coordinating bridal nails effortless with our AI Wedding Planner
Research shows that couples spend an average of 250 hours planning their weddings, and a surprising amount of that time goes to coordinating beauty appointments and making sure all the aesthetic details work together.

If you’re feeling overwhelmed by all the details – from timing your nail appointments to making sure your tortoise shell design complements your overall bridal look – there are services that can help coordinate these details so you can actually enjoy your engagement. At Bridesmaid for Hire, our professional bridesmaids have experience with every type of wedding aesthetic and can provide the unbiased support you need to make confident decisions about all your wedding details.
Let our AI Wedding Planner help you design the perfect tortoise shell look that fits your wedding vision
Whether you need someone to research local nail salons, coordinate appointments, or just provide a calming presence while you make beauty decisions, professional support can transform your wedding preparation from stressful to seamless.
For comprehensive wedding planning support, explore our wedding planning guide and discover how professional assistance can streamline your entire celebration planning process.
Final Thoughts
Look, tortoise shell nails are gorgeous and totally doable, even if you’re not some nail art wizard. The key is being realistic about your skills, your lifestyle, and how much maintenance you’re actually willing to commit to.
I’ve tried everything from the basic sponge technique to elaborate 3D textured applications, and honestly? Some of my favorite results came from the simplest methods. Complexity doesn’t always equal beauty – sometimes a perfectly executed basic design looks way better than an ambitious attempt gone wrong.
Don’t be afraid to start simple and work your way up. That Traditional Amber Blend using drugstore polish and a makeup sponge? It’s a classic for a reason, and it’s way more forgiving than you think. Even if you mess up the blending a bit, it just looks more organic and natural.
The seasonal variations prove you don’t have to stick with traditional browns forever. I love switching to cool grays in winter or trying those soft pastels in spring. The beauty of tortoise shell is that the swirl pattern works with almost any color story.
For brides considering tortoise shell nails, timing matters. Don’t try a new technique the day before your wedding – I learned this at my cousin’s wedding when my “simple” design turned into a three-hour disaster. Give yourself time to practice, and maybe consider professional support if you’re feeling overwhelmed by all the wedding details.
Remember, even slightly imperfect tortoise shell nails look way cooler than plain nails. The organic, natural pattern is supposed to be a little irregular – that’s what makes it beautiful. So start simple, don’t stress about perfection, and have fun with it. After all, nails grow out, so even if you completely mess up, it’s not permanent. Just call it practice for next time!
Get personalized color recommendations for your next tortoise shell manicure with our Free AI Color Analysis Quiz


1-800-BRIDESMAID
The Newlywed
Card Game
something extra to love
Read the weekly newsletter from Bridesmaid for Hire, 1-800-Bridesmaid, to hear about real stories, from strangers, who need advice on love, life, friendship, and so much more.
Looking for the perfect wedding gift for someone you adore? Grab The Newlywed Card Game. It's a fun and interactive game they can play on their honeymoon or future date nights.

